
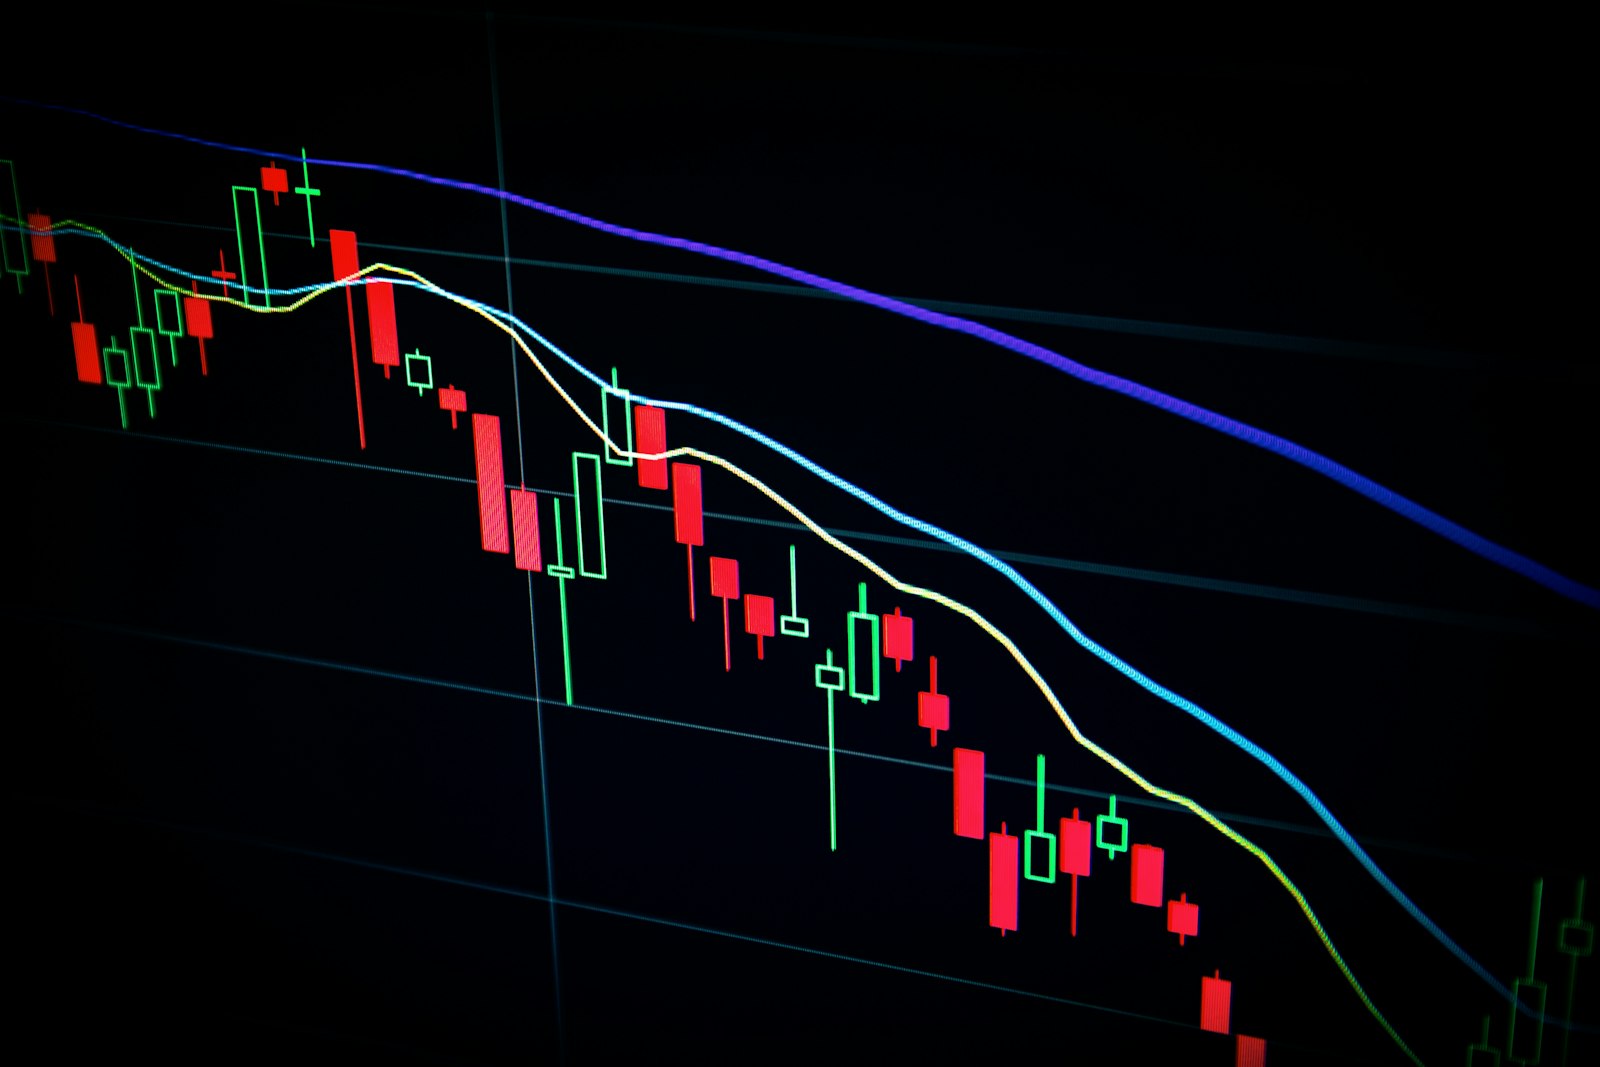
Reading a Volume Profile: Finding the Price Levels Where Swing Trades Actually Get Support
Ask ten traders where a stock is going to find support and you'll get ten different answers, most of them guesses dressed up as analysis. Ask a volume profile the same question and it gives you a real answer, built from actual trades at actual prices — not a hunch about a round number.
After four decades on the floor, one lesson never stopped being true: price tells you where the market has been, but volume tells you where the market actually agreed on value. A candle can print at any price for any reason — a stop run, a headline spike, an illiquid print at 3:58pm. Volume at that price is a different story. It means real size changed hands there. That's the whole idea behind a volume profile, and it's why we teach it early to traders who are tired of drawing horizontal lines and hoping.
What a Volume Profile Actually Shows You
A standard price chart plots price on the y-axis and time on the x-axis. A volume profile flips the emphasis: instead of asking "how much did price move over time," it asks "how much volume traded at each price level, regardless of when." The result is a horizontal histogram running down the side of your chart — fat bars at prices where a lot of shares or contracts changed hands, thin bars at prices the market blew through without much interest. That fat, central bulge has a name: the Point of Control, or POC. It's the single price level with the most traded volume over your chosen period, and it behaves like a magnet. Price tends to return to it, consolidate around it, and use it as a pivot. Around the POC sits the Value Area — typically the range that contains 70% of total volume for the period. Everything inside that range is "accepted" price. Everything outside it, in the thin high-volume-node deserts, is price the market moved through quickly because almost nobody wanted to transact there.
Why This Beats a Horizontal Line on a Chart
Traditional support and resistance gets drawn off a handful of prior highs and lows — useful, but subjective. Two traders looking at the same chart will draw different lines. A volume profile is objective. It's built from the tape itself: every trade that actually happened at every price, aggregated. When we tell members in the community to "let the market show you where it's already agreed on value," this is the tool doing the showing. There's also a practical reason floor traders leaned on volume-based levels long before retail platforms made them one click away: low-volume nodes are where price moves fast, because there's no resting size to slow it down. High-volume nodes are where price grinds and chops, because there's real supply and demand fighting it out. If you've ever wondered why your swing entry got filled instantly and then went nowhere for three days, there's a decent chance you bought right into a high-volume node without knowing it.
Reading the Shape, Not Just the Bars
Two profile shapes come up constantly, and learning to recognize them at a glance will change how you frame a trade. A "D-shaped" or normal profile has one clear bulge in the middle and thins out symmetrically at the top and bottom — a single, well-defined POC. This tells you the market spent the session (or the week, depending on your lookback) building consensus around one fair price. These are range-bound, mean-reverting conditions — good for fading extremes back toward the POC, less good for chasing breakouts. A "b-shaped" or "P-shaped" profile is lopsided, with volume stacked heavy at one end and thin at the other. That shape usually means the market accepted a new price level and is building a fresh value area there — classic trend-day behavior. Trying to fade that kind of tape back to yesterday's POC is how a well-intentioned mean-reversion trade turns into a slow bleed. We also watch for a "low-volume node breakout" setup: price coiling near the edge of a value area, on declining volume, right before it pokes through a thin spot in the profile. Those thin spots offer little resistance, so once price clears them, it tends to travel — which is exactly the kind of asymmetric, defined-risk entry we build swing trades around.
Building It Into a Real Trade Plan
None of this works as a signal by itself, and we'd be doing you a disservice if we sold it that way. A volume profile tells you where the market has already made decisions — it doesn't tell you what happens next. Here's how we actually use it with members: First, build the profile over a timeframe that matches your trade. Swing traders generally want 20 to 60 sessions of data, not a single day's profile — you're looking for the levels that matter across weeks, not the noise of one session. Second, mark the POC and the edges of the value area as your reference levels, the same way you'd mark a 50-day moving average or a prior swing high. These become the prices where you expect reactions. Third, combine the level with confirmation. A pullback into a high-volume node that also lines up with a rising 50-day average and a bullish candle close is a much higher-quality entry than the level alone. We're not interested in "price touched a line, buy it" — we're interested in stacked, independent reasons that the same price level matters. Finally, respect the thin zones for risk. If your stop sits inside a low-volume node, expect it to get run — there's nothing there to slow price down in either direction. Better to place stops just beyond the node, where trading actually has to work to reach you.
The Takeaway
Volume profile won't make your trading easier overnight, and anyone promising that isn't teaching, they're selling. What it does is replace guesswork with data the market already generated for you. Where did real size actually trade? That's where support and resistance live — not wherever looks clean on a two-year weekly chart. This is exactly the kind of tool we spend real time on inside live coaching, because reading a profile well takes reps, not just a definition. If you want to see how AJ Monte and the coaching team apply volume-based levels to live trade setups — entries, exits, and the reasoning in real time — start your free 15-day trial with AJ Monte and sit in on a session yourself.
